Adding Charm to Your Garden: How to Build a Shed with a Slanted Roofsubmitted on 14 September 2023
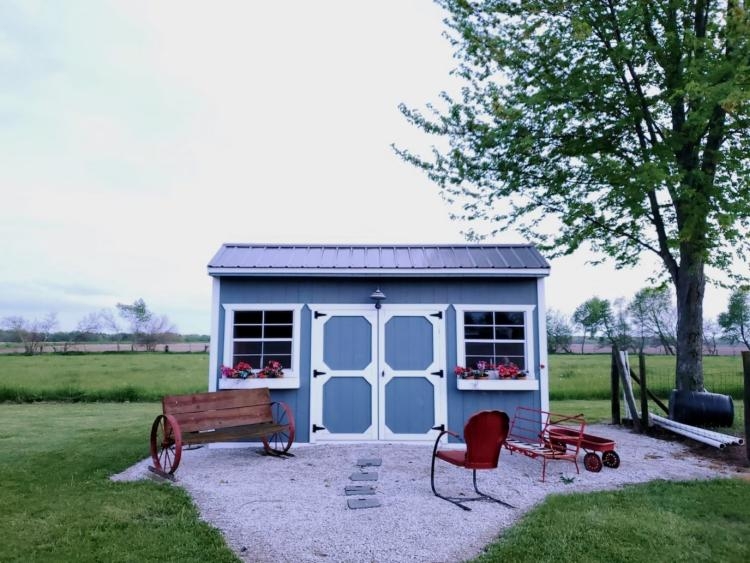 A garden is not just a place where you plant flowers and vegetables. It's a space where you can express your personality and create a peaceful retreat from the world. One way to add charm and utility to your garden is by building a garden shed, especially one with a slanted roof. Such sheds are both functional and stylish.
All County Exteriors, a New Jersey-based company, knows all about adding that touch of charm to outdoor spaces, be it with patios, sunrooms, or even roofs. Let’s learn how you can build your very own garden shed with a slanted roof.
Tools and Materials Needed
Basic Tools:- Measuring tape: To make accurate measurements.
- Hammer: For nailing pieces together.
- Saw: To cut lumber and plywood.
- Screwdriver: For screws.
- Level: To ensure everything is even.
- Carpenter's square: Helps with angles and ensuring walls are straight.
- Ladder: For working on the roof and higher parts of the shed.
Essential Materials- Lumber (various sizes): For framing and structural work.
- Plywood: For walls and roofing.
- Roofing felt: To protect the roof underneath shingles or metal sheets.
- Asphalt shingles or metal roofing sheets: To cover and protect the roof.
- Nails and screws: To connect pieces together.
- Paint or stain (optional): For coloring and protecting your shed.
How to Build a Shed with a Slanted Roof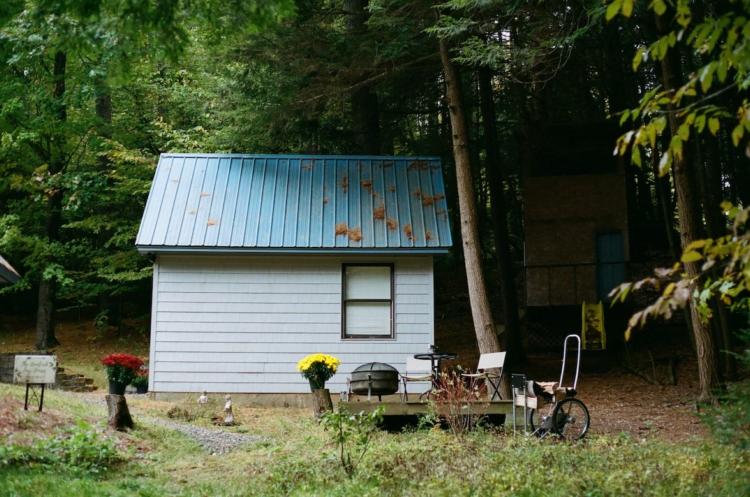
Choosing the Right Location- Importance of sunlight and shade: Your shed needs a balance. Sunlight helps prevent mold but too much can be bad for the materials.
- Proximity to other structures: Ensure your shed isn’t too close to walls or trees.
- Drainage considerations: Avoid places where water collects.
Setting the Foundation- Concrete slab: It's durable and strong.
- Gravel pit: Good for drainage and can be a budget-friendly choice.
- Wood foundation: A classic choice that’s a bit easier to set up than concrete.
Preparing the Ground- Clearing and leveling: Remove all grass, rocks, and debris. Make sure the ground is even.
- Setting the foundation: Once cleared, set your choice of foundation from above.
Building the Frame- Walls: Start with the back wall, then the sides, and finish with the front. Ensure they are square and even.
- Door and Windows: Cut out spaces for these after your walls are up. Remember to measure twice!
Adding the Slanted Roof- Calculating the angle and size: Decide on how steep you want your roof. More slant means better rain run-off but may require more materials.
- Installing rafters: These are the wooden beams that will support the roof.
- Attaching the roof sheathing: Plywood goes on top of the rafters.
- Applying roofing felt: This layer helps protect against leaks.
- Installing shingles or metal roofing: Start from the bottom and work your way up.
Final Touches- Painting and Staining: Make your shed beautiful and protect it at the same time!
- Installing Additional Features: Think about shelves, hooks, or even a little front porch.
Maintenance Tips for Longevity- Regular checks for damages: Every season, look over your shed for any wear or damage.
- Cleaning and repainting when necessary: A fresh coat of paint can add years to your shed's life.
- Keeping the interior dry: Avoid storing wet items, and consider a dehumidifier if needed.
Key Takeaways
Building a garden shed with a slanted roof is more than just creating storage space. It's about enhancing the beauty of your garden. With the right tools, materials, and a bit of effort, you can have a charming and functional garden shed to be proud of. Remember to call on experts like All County Exteriors if you need help with your roofing or other exterior projects. Their experience can be invaluable for your garden upgrades!
|